How to Become an Audiobook Narrator: The Complete Step-by-Step Career Guide
Do people often tell you, “You have such a nice voice; you should be on the radio”? While a pleasant voice is a great starting point, becoming a professional audiobook narrator requires much more than just reading aloud. It is a unique blend of acting, audio engineering, project management, and small business entrepreneurship. In the age of digital media, the narrator is the conduit between the author’s imagination and the listener’s ear, a responsibility that carries immense artistic weight.
The audiobook industry is currently in a “Golden Age.” With platforms like Audible, Apple Books, and Spotify expanding their catalogs aggressively, the demand for high-quality voice talent has never been higher. According to the Audio Publishers Association, audiobook revenue has seen double-digit growth for over a decade. This isn’t just a side hustle anymore; for many, it is a lucrative full-time career. However, the barrier to entry has also shifted. It is no longer enough to have a good voice; you must be able to produce broadcast-quality audio from your own home, edit your own files, and market yourself to rights holders.
There is also a misconception that this is “easy money.” The reality is that for every finished hour of audio you hear, a narrator has spent 4 to 6 hours working behind the scenes. This includes pre-reading the manuscript to understand characters, recording the narration, editing out mistakes (breaths, clicks, stutters), and mastering the files to meet strict technical standards. You are not just the actor; you are the director and the sound engineer.
In this comprehensive guide, we will walk you through the entire roadmap: from the acting techniques you need to master to differentiate characters, to the exact microphone specifications you should look for, and finally, how to navigate the complex world of ACX and independent publishing contracts.
Step 1: Developing Performance Skills
Audiobook narration is a marathon, not a sprint. Unlike a 30-second commercial voiceover where you can punch maximum energy into a few sentences, an audiobook requires consistency over 10, 20, or even 50 hours. The listener must feel as engaged in Hour 15 as they did in Hour 1.
Acting vs. Reading
The biggest mistake new narrators make is “reading” the book. When you read, you are passive. When you narrate, you are performing. You are acting every single role. You need to differentiate characters without sounding cartoonish or offensive. This involves subtle changes in pacing, pitch, and timbre. A gruff detective needs a different vocal placement (perhaps lower in the throat) than a nervous witness (perhaps higher and faster). Mastering these subtleties prevents the listener from getting confused about who is speaking.
The Art of Script Analysis
Before you hit record, you must analyze the text. Professional narrators “mark up” their scripts. They highlight mood shifts, underline emphatic words, and note where a character’s motivation changes. You need to know the end of the sentence before you say the beginning. This skill, often called the “eye-brain-mouth lead,” allows you to scan ahead while speaking, ensuring your intonation lands correctly. If you don’t know a character is lying until the end of the paragraph, you will have to re-record the whole section.
Stamina and Breath Control
Can you speak for four hours straight without your voice cracking or your stomach growling? Narrators need immense vocal stamina. You also need to learn breath control to avoid gasping for air into the microphone between sentences. This is a physical skill similar to singing. Hydration is key—not just water during the session, but systemic hydration starting 24 hours before. You must also manage “mouth noise” (clicks and smacks caused by sticky saliva), which can ruin a recording. Green apples and tart juices are common industry tricks to clear the palate.
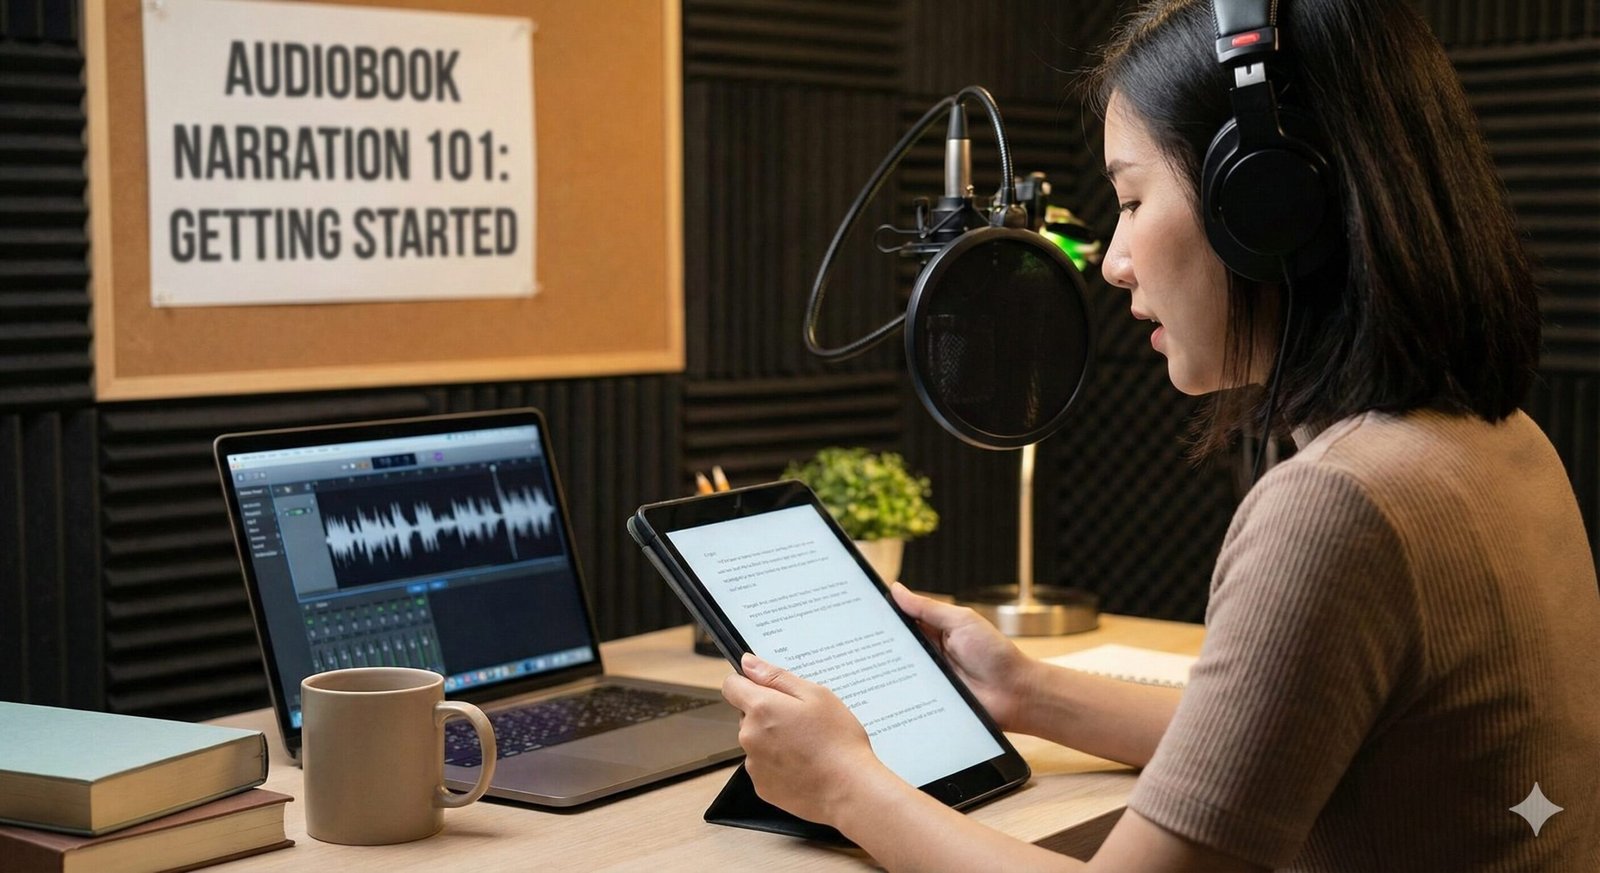
Step 2: Building Your Home Studio
In the modern industry, you are expected to deliver finished, polished audio files. This means you cannot just record on your phone in the kitchen. You need a dedicated recording space that meets the “Noise Floor” requirements of publishers (usually -60dB or lower). This is the measure of silence in your room when you aren’t speaking.
The Environment: Acoustic Treatment
The room is more important than the microphone. You could buy a $3,000 Neumann microphone, but if you put it in an untreated bedroom, it will sound like you are recording in a bathroom. The mic picks up the room’s reverb (echo). You need a “dead” space. Many beginners start with a walk-in closet filled with clothes—clothing is heavy and dense, making it an excellent sound absorber. If you don’t have a closet, you can build a PVC pipe booth covered in moving blankets. The goal is to stop sound waves from bouncing off hard surfaces (walls, desk, computer screen) and entering the microphone.
The Hardware Checklist
- Microphone: You need a Large Diaphragm Condenser microphone. Unlike dynamic mics (used for podcasts/radio), condensers capture the rich detail and nuance of the human voice. However, they are very sensitive, which is why your room treatment is critical.
- Audio Interface: You generally cannot plug a pro XLR microphone directly into a computer. You need an interface (like the Focusrite Scarlett or Audient iD4) to convert the analog signal to digital. This also provides the “Phantom Power” (48v) that condenser mics require.
- Headphones: You need “Closed-Back” studio monitor headphones. Open-back headphones will leak sound, which your mic will pick up, causing feedback. Closed-back designs isolate the sound so you can hear every mouth click, breath, and background noise.
- Computer: It doesn’t need to be a supercomputer, but it must be silent. Fan noise is the enemy. If your laptop fan spins up, your mic will hear it. Many narrators put their tower in another room and run cables through the wall, or use silent, fanless laptops (like the MacBook Air).

Rode NT1 5th Gen Condenser Microphone
The gold standard for home voiceover studios. It has an incredibly low self-noise (4dBA), ensuring your recordings sound professional and clean without the “hiss” of cheaper gear.
Check Price on AmazonStep 3: Recording & Editing Software (DAW)
The software you use to record and edit is called a Digital Audio Workstation (DAW). While there are many options, the workflow for audiobooks is specific. You need to produce mono tracks that meet strict loudness standards (RMS between -18dB and -23dB, with peaks no higher than -3dB).
Popular DAWs
- Audacity: Free and open-source. It is a great starting point for beginners to learn the basics of waveforms. However, it is “destructive” editing (changes are permanent once saved) and lacks some advanced features of paid software.
- Adobe Audition: The industry heavyweight. It has powerful noise reduction tools and a “spectral frequency display” that lets you “see” sounds like mouth clicks and paint them out. It is subscription-based.
- Reaper: A favorite among tech-savvy narrators. It is affordable (one-time fee), lightweight, and incredibly customizable. You can script it to automate repetitive tasks.
- TwistedWave: Popular for Mac users who want a simplified, no-nonsense interface dedicated to voiceover.
The “Punch and Roll” Technique
You cannot simply record the whole book and then edit it later—that would take forever. You must learn “Punch and Roll.” This is a recording mode where, if you make a mistake, you stop, back up the cursor a few seconds, and hit record. The software plays the last few seconds of audio (the “roll”) so you can match your tone and pace, and then “punches in” to record over the mistake. This means when you finish recording a chapter, you have a single, clean file that only needs minor cleanup, saving you dozens of hours in post-production.
Step 4: Creating a Killer Demo
Your demo is your storefront. No author or publisher will hire you without hearing what you can do. However, audiobook demos are different from commercial demos. A commercial demo is fast, punchy, and sells a product. An audiobook demo sells a *story*.
The Rules of the Demo
A standard demo should consist of several 60-90 second clips. Do not make a 5-minute montage; casting directors decide in the first 10 seconds. You need separate demos for different styles:
- Fiction Demo: Should showcase narration and dialogue. Pick a scene with two characters so you can show your ability to switch voices.
- Non-Fiction Demo: Should showcase authority, clarity, and engagement. Can you make a dry business text sound interesting?
- Accents/Genre: Only include accents (British, Southern, etc.) if you can sustain them flawlessly for 10 hours. A bad accent is worse than no accent.
Where to Get Scripts
Do not read from famous bestsellers (you don’t want to be compared to the original narrator). Instead, use public domain texts from sites like Project Gutenberg, or write your own short scenes. The focus should be on your voice and acting, not the recognition of the text. Ensure your audio quality on the demo is pristine—it tells the client that your home studio is ready for work.
Step 5: Where to Find Jobs (ACX & Beyond)
Once you have your studio and demo, you need to find the work. The industry is divided into independent marketplaces and professional production houses.
ACX (Audiobook Creation Exchange)
This is the marketplace owned by Amazon/Audible. It is the largest platform for indie authors. You create a profile, upload your demos, and audition for books. Authors post portions of their manuscript (audition scripts), you record them, and if they like you, they make an offer. This is where 90% of new narrators start to build their portfolio (and make their mistakes).
Findaway Voices
A major competitor to ACX (now owned by Spotify). Findaway distributes to a wider network, including Apple Books, Google Play, and library systems (Overdrive/Libby). They often act more like a casting agency, curating lists of narrators for authors rather than the open audition “cattle call” of ACX.
Publishers & Production Houses
This is the big leagues. Publishers like Penguin Random House, Hachette, and Macmillan, or production houses like Deyan Audio or Tantor, hire narrators directly. They usually require you to be a member of SAG-AFTRA (the union) or have a significant portfolio. You don’t audition for individual books here; you submit your roster to their casting directors and hope to get on their roster for future projects.

Focusrite Scarlett 2i2 (4th Gen)
You can’t plug a pro XLR mic into your computer without an interface. The Scarlett is legendary for its clean preamps, ease of use, and “Air” mode that adds clarity to vocals.
Check Price on AmazonStep 6: Rates & Royalties Explained
Understanding how you get paid is crucial to treating this as a business, not a hobby. There are generally two payment models in the industry:
1. PFH (Per Finished Hour)
You are paid a set rate for every hour of finished audio you deliver. This is the industry standard for professional work.
Rates: Beginners might accept $50-$100 PFH. Experienced indie narrators charge $200-$400 PFH.
The Math: If your rate is $250 PFH and the book is 10 hours long, you earn $2,500. Remember the 6:1 ratio: that 10-hour book will take you 60 hours of work. So, $2,500 / 60 hours = ~$41/hour before taxes and expenses. This is the safest bet because you get paid regardless of sales.
2. Royalty Share (RS)
You get paid $0 upfront. Instead, you split the royalties (usually 50/50 of the creator’s share, which ends up being about 20% of the sale price) with the author for every copy sold for the next 7 years.
The Risk: If the book sells zero copies, you did 60 hours of work for free.
The Reward: If you narrate a bestseller that sells 100,000 copies, you could earn tens of thousands of dollars over years. This is a gamble and requires you to be able to judge the marketability of a book before accepting the contract.
Royalty Share Plus
A hybrid model offered on ACX. The author pays a small stipend (e.g., $100 PFH) to cover your basic costs, plus you get the royalty share. This mitigates some risk while keeping the upside potential.